
Image Source: Google
With the increasing focus on renewable energy, many homeowners are considering installing solar panels on their properties. Not only does solar power help reduce electricity bills, but it also contributes to a cleaner environment by reducing carbon emissions.
If you're looking to set up your own solar panel system, this step-by-step guide will walk you through the installation process. You can also browse this site for solar panel setup.
By following these instructions carefully, you can harness the power of the sun and generate your own electricity.
1. Planning Your Solar Panel System
Determine Your Energy Needs
- Calculate your average monthly electricity consumption.
- Consider any future changes in energy usage, such as adding new appliances or electric vehicles.
Assess Your Property
- Determine the best location for solar panels based on sunlight exposure.
- Consider any shading from trees, buildings, or other obstructions.
Obtain Permits and Approvals
- Check with your local government for any building permits or zoning restrictions.
- Consult with your utility company to ensure compliance with regulations and grid connection requirements.
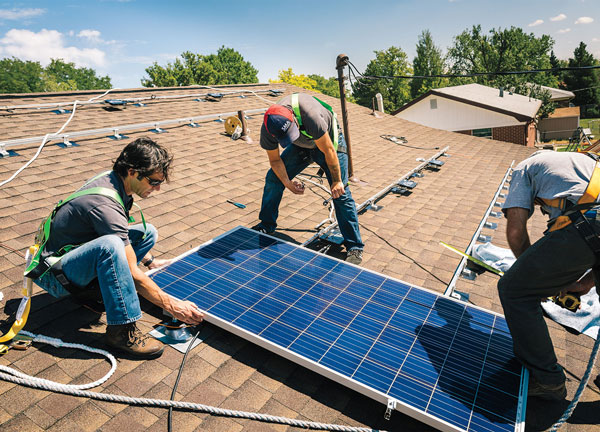
2. Installing Your Solar Panels
Mounting the Panels
- Install mounting brackets on the roof or ground where the panels will be placed.
- Securely attach the solar panels to the mounting brackets using bolts or clamps.
Connecting the Panels
- Connect the solar panels in series or parallel, depending on your system design.
- Use properly rated solar cables to connect the panels to each other and to the inverter.
Installing the Inverter
- Mount the inverter in a well-ventilated area near the solar panels.
- Connect the inverter to the solar panels and the electrical panel in your home.
3. Wiring and Electrical Connections
Setting Up the Electrical Panel
- Install a dedicated circuit breaker for the solar panel system in your electrical panel.
- Connect the output wires from the inverter to the breaker and the utility grid connection point.
Grounding the System
- Properly ground the solar panel system to protect against electrical faults and lightning strikes.
- Ensure all metal components are connected to a grounding rod buried in the earth.
Testing and Commissioning
- Test the system by turning on the inverter and monitoring the electricity production.
- Check for any errors or issues with the wiring and connections.
4. Monitoring and Maintenance
Monitoring System Performance
- Regularly monitor the output of your solar panel system using a monitoring app or website.
- Check for any drops in performance that may indicate a problem with the system.
Maintaining Your Solar Panels
- Clean the solar panels periodically to remove dirt, dust, and debris that can reduce efficiency.
- Inspect the system for any signs of wear or damage, such as loose connections or water infiltration.
Annual Inspections
- Schedule an annual inspection by a professional to ensure the system is operating safely and efficiently.
- Address any maintenance issues promptly to avoid costly repairs or reduced performance.
 a business analyst and part time blogger. I am crazy about gathering latest information around the world. I have started this blog to share my knowledge & experience.